
5 Tips for Taking Better Photos In A Restaurant
You whip out your phone, excitedly, but... you just cannot get the photo to look as brilliant as the dish looks. True? Read this.
Have you ever gone for a special night out to a brand new restaurant, and you’ve ordered some exciting new menu item that sounds like it’s going to taste incredible. And, after the anticipation-filled wait, the meal has come to your table in a glorious fashion. You whip out your phone, excitedly, but... you just cannot get the photo to look as brilliant as the dish looks right in front of you.
There’s very few things that are as disappointing as when you look back on your photos from the meal and they just don’t look as delicious as it actually looked. It’s probably why you’ve clicked on this article. Never fear. We’ve got you covered with five great tips to take better photos in restaurants.
1. Angles, Angles, Angles
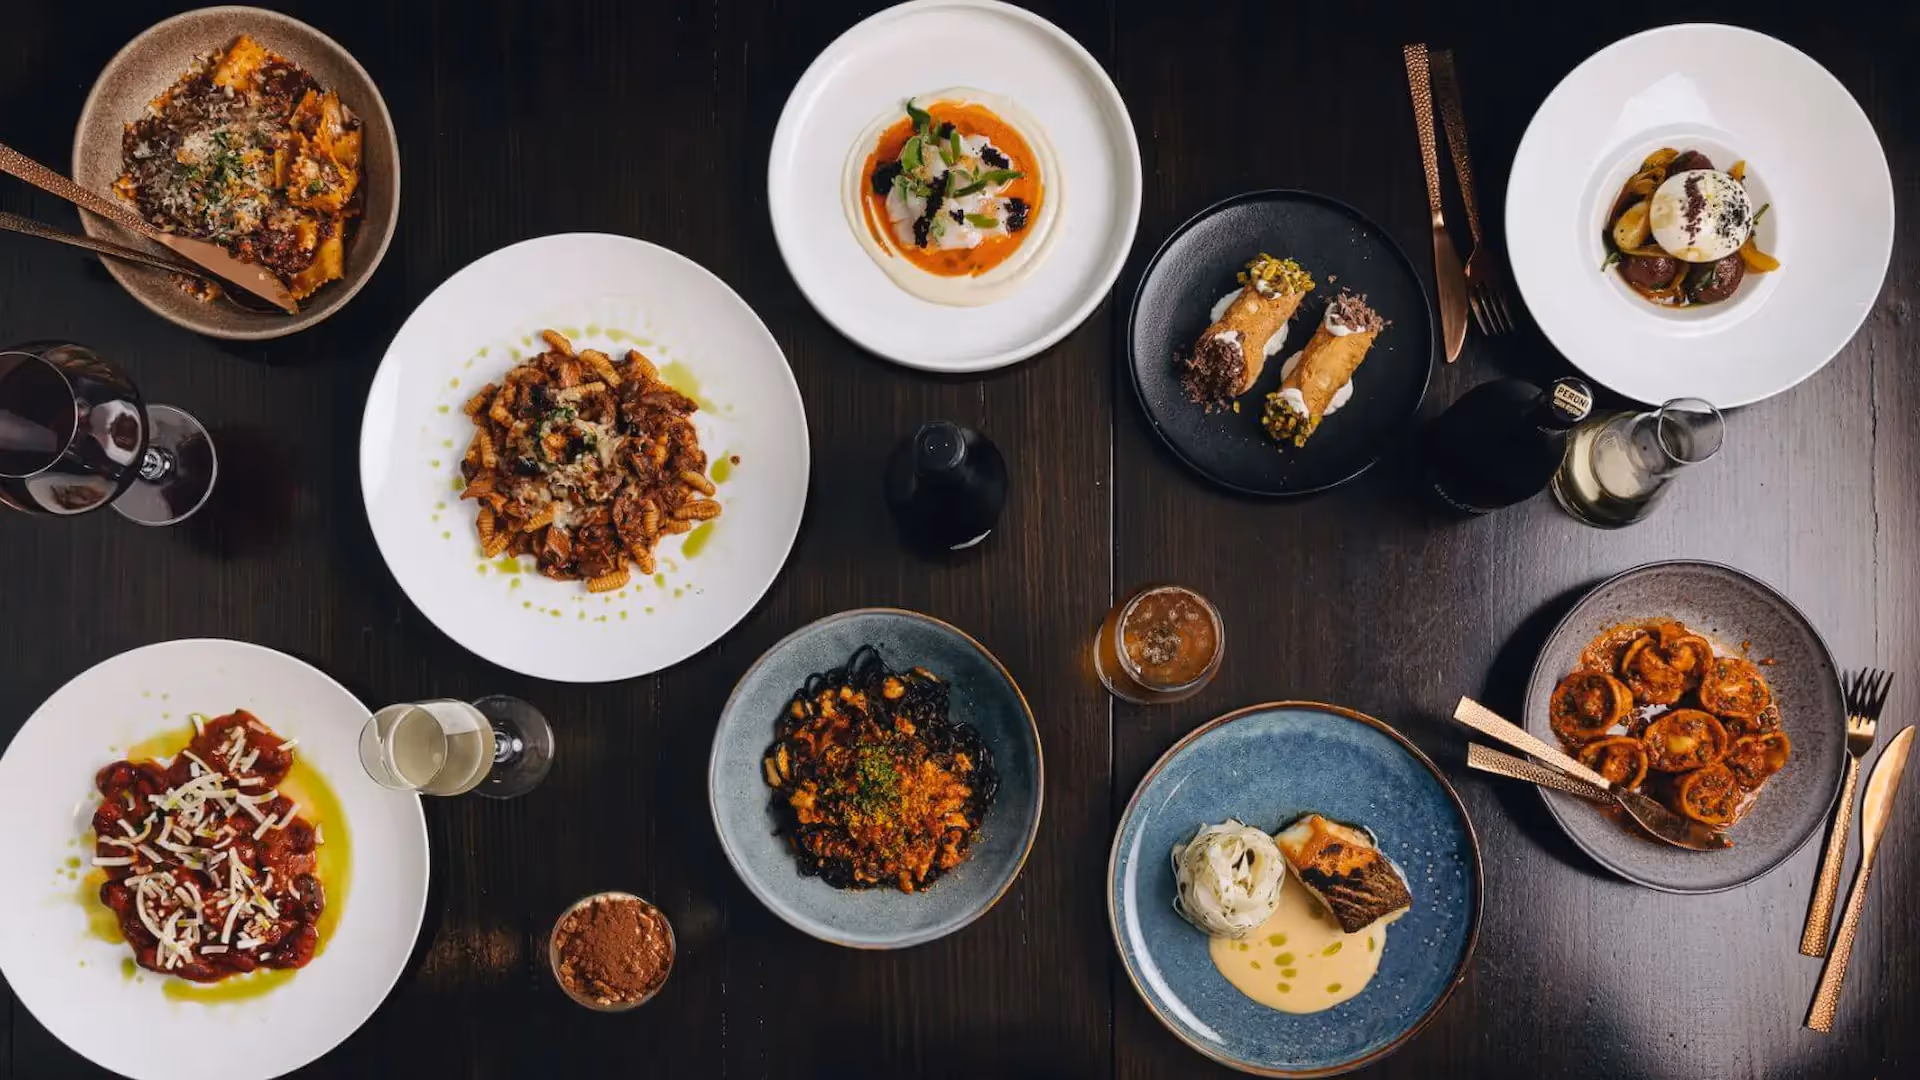
You simply cannot be afraid to get the right angle when it comes to taking food photos. There’s the classic top-down Instagram food tiles with the plates and cups in perfect order. This is one of the best angles to get the full picture of the food in front of you. It’ll take in the whole table whilst also framing the food in a really attractive, delicious light. If you’re feeling a bit shy to stand up and get that high up angle, or you want to focus in on one dish try a closer approach, still with a higher angle but making sure the capture the height of the food.
Try out different angles for the type of food you’ve ordered, and be sure to take a few to choose from later.
2. To Flash Or Not To Flash?
Often restaurants are super dark and have moody atmospheric lighting. If you want to get a good shot, you’ll likely need to decide if flash is going to be required or not. It’s going to be dependent on the style of photo you want, and the type of food you’ve ordered. If a glossy crème brulee has arrived at the table, and you want a photo of that enticing first crack, flash is probably going to be your enemy, as the light bounces back and reflects poorly on the dish. But if you’ve ordered a neon green cocktail and it’s got space age vibes, give that flash a go and find out if it contributes to the overall feel. If you’re dining with friends you could even ask them to shine their torches and create the right level of lighting for your photo. Or plan ahead and scout a table with natural daylight / good diffused lighting.
3. Composition Is Key
It’s all down to what’s in frame. Ask yourself:
- Where are the cups in relation to the plates?
- Are your hands in frame, or not?
- Are you including your friend(s) in shot or not?
- One dish, or all of them?
- Are there any patterns you can add, or a way to include the rule of threes?
The best photos are well thought about. Take the time to set up the shot, and really make sure you’re getting everything you want and don’t want in the shot.
4. Keep It Unique
How can your photo stand out in the over saturated market of Instagram food photos? Adding your personal flair is the best way to garner the likes and support of your audience. A smiling face is sometimes a nice addition to the photo, or maybe mid-spoonful could set you out from the other food photos. You've got a variety of options to make the photo yours. So be bold!
5. Editing: More Essential Than You Think
Finally, editing. Doing your best in the restaurant will make this final step a lot easier, but you have to take the time to adjust the brightness, contrast and sharpness to make the food beautiful. Make sure to replicate the real colours of the food you’ve ordered, and set it off from the background. If you don’t have access to fancy editing apps, the iPhone or Android editing functions in the photos app will do just fine. A few adjustments and it'll be ready to post.